
Wall Panel Installation Videos
For help installing Fibo wall panels in various scenarios, take a look at the series of animated installation videos we have compiled below.
1. Preparation before installation
2. Installing on different backwall options
3. Installing the base profile
4. Installing the hidden internal corner profile
5. How to correctly seal the panels
6. Installing the first and middle panels when using the hidden internal profile
7. Fitting the final panel in a corner when using the hidden internal profile
8. Whole room installation when using the visible internal profile
9. Installing the external corner profile
10. Installing L Shape profiles (including around window sills)
11. Fitting panels at floor level, over baths and over shower trays
12. Installing pipes and other accessories
1. Preparation before installation
What to do when you receive your panels, how to store them, how to cut them and what you will need to prepare for installation.
2. Installing on different backwall options
Use for advice on screwing panels into stud walls, plasterboard, or glueing panels onto brick, concrete and tiled walls.
3. Installing the base profile
Where we recommend placing the base profile and how to install it.
4. Installing the hidden internal corner profile
Where we recommend placing the hidden internal corner profile and how to go about installing it.
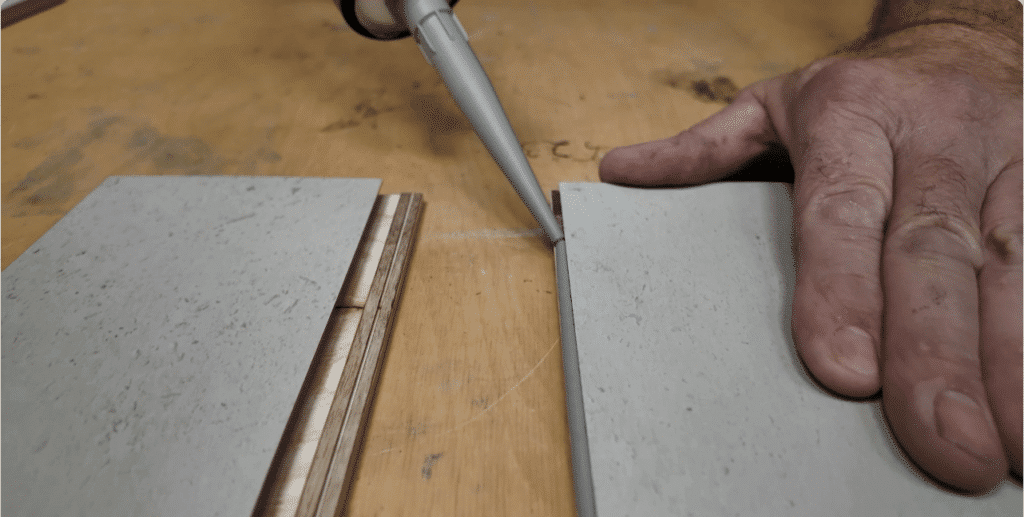
5. How to correctly seal the panels
Sealing the Aqualock joint in the correct way, and how and when to seal any cut edges.
6. Installing the first and middle panels when using the hidden internal profile
How to start off a run of panels on a wall when using this type of profile including where to start and how to dry fit and seal the panels in place.
7. Fitting the final panel in a corner when using the hidden internal profile
What to do when you come to the last panel on a run of the wall and how to fit the profile to the panel and swing into place.
8. Whole room installation when using the visible internal profile
This film gives an overview of how to go about using this type profile when installing panels in a full room installation. Starting in one corner and ending over a doorway.
9. Installing the external corner profile
How to install and seal panels around an external corner, box in a wall or transition from panels to another wall surface.
10. Installing L Shape profiles (including around window sills)
Where and how to use the L Shape profiles. Shows how to measure, fit and install panels around a window sill, cut out shelf or niche.
11. Fitting panels at floor level, over baths and over shower trays
The recommended way to finish the panels at floor level, and how to install panels on top of a shower tray or bath. Film shows both behind a tray or bath, and on top of a tray or bath.
12. Installing pipes and other accessories
How to drill holes for pipes and accessories whilst making sure they are sealed correctly and water tight.
Important tips for installing Fibo wall panels
- Use a rocking motion when clicking the panels together to ensure a good join in the Aqualock. Do not force, as this can damage the lock and result in delamination of the core.
- Using the Fibo Grip will provide increased control when joining plates.
- Gently strike against the nail lip on the right side of the panel with the Fibo Tapping Tool to ensure the panel is fully locked.
- If using screws, make sure that the screws are not excessively tightened to avoid pulling through the nail lip.
For any questions, please don’t hesitate to contact our customer support: sales@fibo.co.uk

Accessories for Fibo Wall Panel Installation
The waterproof wall panel system is created by first setting up profiles that form the framework of the wall system. Then the boards are mounted with hidden fixings, and all joints are sealed with Fibo’s sealant – Fibo Seal, for a no-leak wall guarantee. Additional accessories are also available to facilitate clean, fast and efficient installation.
Fibo Installation Guidance
For more comprehensive installation guidance, we’ve created a series of concise, easy-to-follow videos with top tips from our professional installation team. These videos are designed to make your Fibo wall panel installation smoother, faster, and hassle-free!
The tips below cover all aspects of Fibo installation.
- 6. How to properly seal Fibo wall panels
7. How to screw into Fibo wall panels and click them together with the help of click wax
8. How to seal pipe holes with Fibo wall panels
9. How to seal Fibo’s base profile – with and without the use of masking tape
10. How to seal Fibo’s hidden internal corner profile – with the help of masking tape
11. How to use masking tape when installing Fibo’s two-part internal corner profile